Friday, June 15, 2012

What Is Eating My Tomato Plants?

I went out into the garden this morning and found some of our tomatoes to be looking quite sickly. something is eating the leaves, and even the vines. What could it be?

You can tell this is looking pretty sickly...

Here's a closer shot (enlarge to see better). Although it's out of focus, one of the stems has been completely stripped of leaves.

Whatever got to this one had the audacity to eat the entire top of the stem off!
Have you ever had an issue like this? This is my fourth year growing tomatoes and nothing has ever chewed on my plants like this. We have an entirely fenced in garden, so unless something is burrowing that I'm unaware of, it would have to be something that can climb a fence or drop in from a tree (squirrel, bird, etc).

Monday, June 11, 2012

Harvest Monday - June 11, 2012

Some of these radishes were harvested this week, and some the week before. This represents a little less than half of my entire radish harvest. I grew three varieties - I think I'm only going to bother with one next year - hopefully one that sizes up better than my Easter Egg and French Breakfast radishes did. Many of them failed to form a suitable root at all.

All of this lettuce was harvested on Wednesday. It's a mix from Pine Tree, as well as a lot of yellow oak leaf lettuce I had left over from last year.


This is the second harvest of scapes; the first harvest was about the same amount. I have a total of 10 heads of hard neck garlic planted, and about half of them have scapes left (some more in the shade are still forming) - I'm waiting for them to make "the curl" before I cut them.


If you pretend that I have another picture of lettuce and scapes exactly like the ones above, that's what I harvested on Sunday night.

Although it's not from my garden, we picked 38 pounds of strawberries from a local fruit farm on Sunday morning. We have about 6 gallons of frozen berries, 13 jars of jam, and a few quarts for fresh eating this week.


Happy harvesting! Check out harvests from around the world on Daphne's Dandelions.

Wednesday, June 6, 2012

Gardening Don'ts


  • Don't toss diseased tomatoes in the dirt or let over-ripe tomatoes fall to the ground if you actually want something other than tomatoes to grow in that bed next year.
  • Even if the see packet says your peas don't need support, give them some.
  • When planting two types of peas, don't plant them right next to each other. It's impossible to tell the difference come harvest time.
  • Don't grow "Topper" turnips thinking you'll get a burst of greens and then a really great turnip. There's really no turnip at all.
  • Don't believe the maturity listed on beet packets if you're planting in the spring. Allow for 150 - 200% of the stated time.
The garden is finally shaping up, and I've learned the "don'ts" at the top of this post this year. For instance, this is the bed where my carrots were supposed to be:


Sure looks like a lot of tomatoes to me. Confession: I didn't keep them consistently watered and didn't cover them with anything to promote germination, so I'm not surprised only 2 out of 100+ came up. But the tomatoes sure survived! Anyone need some young transplants? I also spy some tomatoes in my patch of young beets (even though they were planted over a month ago and are supposed to mature in 50+ days, none are close to maturity).


Moving on to the peas:


What a tangled mess!

Not everything in the garden is an example of a "don't." My garlic looks great:


Onions and leeks are also well on their way:


Summer squash is starting to come up:


From left to right, the celery, basil, and parsley looks ok. Some of the basil leaves yellowed a bit, but the top growth looks great. They look way more yellow in this picture because the sun was setting.


So, beans. They're coming up, but they're being attacked. In order, here are vermont cranberry, rattlesnake, and a closeup of the Kentucky wonder and a variety whose name escapes me right now. What's eating them?


Now, some garden photos for posterity, featuring the a-frame trellis that Aaron made for my cucumbers. We just need to staple some plastic fencing to it that we have sitting around.


What's the healthiest plant in the garden so far? Other than the garlic, it's the tomatoes hanging in baskets along the driveway. This is a Matt's Wild Cherry. The vine is much thicker than all my other tomatoes, which unfortunately are a bit spindly right now, and it already has blossoms.


I harvested some veggies tonight, but those pictures will be saved until Harvest Monday. Happy gardening!


Sunday, May 20, 2012

Harvest Monday - 5/21/12

The garden is finally growing at a pace that should produce fairly consistent harvests. On Sunday I harvested a variety of greens (lettuce mix, spinach, arugula, beet greens) and radishes for a salad. I got about 6.5 ounces of greens...didn't weigh the radishes.


What have you harvested this week? Head on over to Daphne's Dandelions for more harvest posts.

Planting Day: Intern Edition

This weekend was a transformation for the garden. On Saturday I woke up and got to work early - I was in the garden by 7:00 a.m. I tilled the 3.5 beds that hadn't been planted yet, added compost, and was about to call it a day and leave all the planting for Sunday when Aaron told me "the tomatoes need to get in the ground. Now."

He was right. They weren't staying moist in their small pots, which they were outgrowing, and many of the leaves were starting to yellow. So, we rolled up our sleeves and planted 27 tomatoes, which were promptly mulched and watered in. They already look happier.

That's the tomatoes in the back bed, as well as the left half of the middle bed.
The major work day was Sunday. I planted broccoli, celery, basil, and parsley from transplants, and then "the intern" arrived. My friend Melissa is interested in starting a garden, and she asked if she could come by and help me plant mine. Never one to turn down free, willing labor, I agreed.

We got to work planting pepper (28) and eggplant (3) transplants. Then, it was on to direct-seeded crops. We planted two types of cucumbers, papaya squash, and 8-ball and black beauty zucchini. Then it was time to tackle the weeds on the back fence, again. They're nothing like they were before, but I'm trying to get them every time they come up so I can stay ahead in the battle. The back fence is where a variety of pole and bush beans will grow. I wanted to plant them today, but the soil was too dry for my tastes; tilling it would have created a dust cloud. I'll wait until after the rain that's supposed to head our way.

The sad, dry, back bed, just waiting for some peas.
Bed on top right includes peppers, eggplants, and newly-seeded summer squash.


The afternoon was dedicated to containers. I potted up some extra sage, thyme, and oregano, planted a few pots full of nasturtiums, and planted fennel and carrots in some large planters that are now located in the garden. I gave an uprooted chives plant a semi-permanent home in a large pot (it was kicked out of the garden bed to make way for broccoli), and planted dill in a pot since I bumped it out of the beds to plant more peppers. We also got two beautiful hanging planters from my parents, so Aaron affixed them to the fence between garden rows and I planted nasturtiums. I must say, with the exception of the empty back fence line, the garden looks lovely.

From back: 2 pots of newly-seeded nasturtiums, oregon, sage

From back: sage, two pots of newly-seeded nasturtiums, and thyme.


I was very thankful for Melissa's help, and even more so for her photography. She took some great shots in the garden. Here are a handful of them.

Peppers in their "pots" waiting to be planted. Spaced approximately one per square foot.

The earlier portion of the garden. I believe this is Bloomsdale spinach.
More of the spring garden. Assorted lettuces from Pine Tree lettuce mix.

Friday, May 11, 2012

2012 Garden Upgrade

Last year was the first year that Gross Farms had 6 beds plus the back fence bed. We didn't really plan ahead when we made it, so we just threw the beds in without removing any grass (except the areas where the beds were placed). It was ok, but Aaron really didn't like having to mow the grass back there, and some of the paths weren't wide enough for a lawn mower, so they had to be weed wacked. Additionally, the grass kept sneaking into the beds - we had more grass in the beds than weeds. Here's how it looked at the end of May last year:


Aaron always commented that he wanted to put pea gravel between the beds. He covered half a path in the middle of the summer, but we realized it would be expensive and A LOT of work, so we put it off. We had an unexpected heat wave in March, so it was nice enough to dig the grass while it wasn't yet growing aggressively. Weekend after weekend, Aaron dug up a few paths of grass, covered it with weed barrier, and laid down pea gravel. Two months and about three tons of pea gravel later, every speck of grass is gone from the garden area. I love it, and I'm sure I'll love it even more when the garden is in full bloom.


In addition to getting the rest of the beds ready for planting, now I think that the chain link fence needs some dressing up - maybe some window baskets alternating strawberries and nasturtiums?


Saturday, May 5, 2012

Name That Fungus

For not getting started until about 2:00, I got a decent amount of work done in the garden today. I'll go through all of that before I give you that chance to "name that fungus."

First, I freed my tomato seedlings from the confines of the mini greenhouse and gave them an afternoon on the patio. Although a few are a bit leggy (mostly the cherry-type tomatoes), they're looking pretty good.

Tomato Seedlings


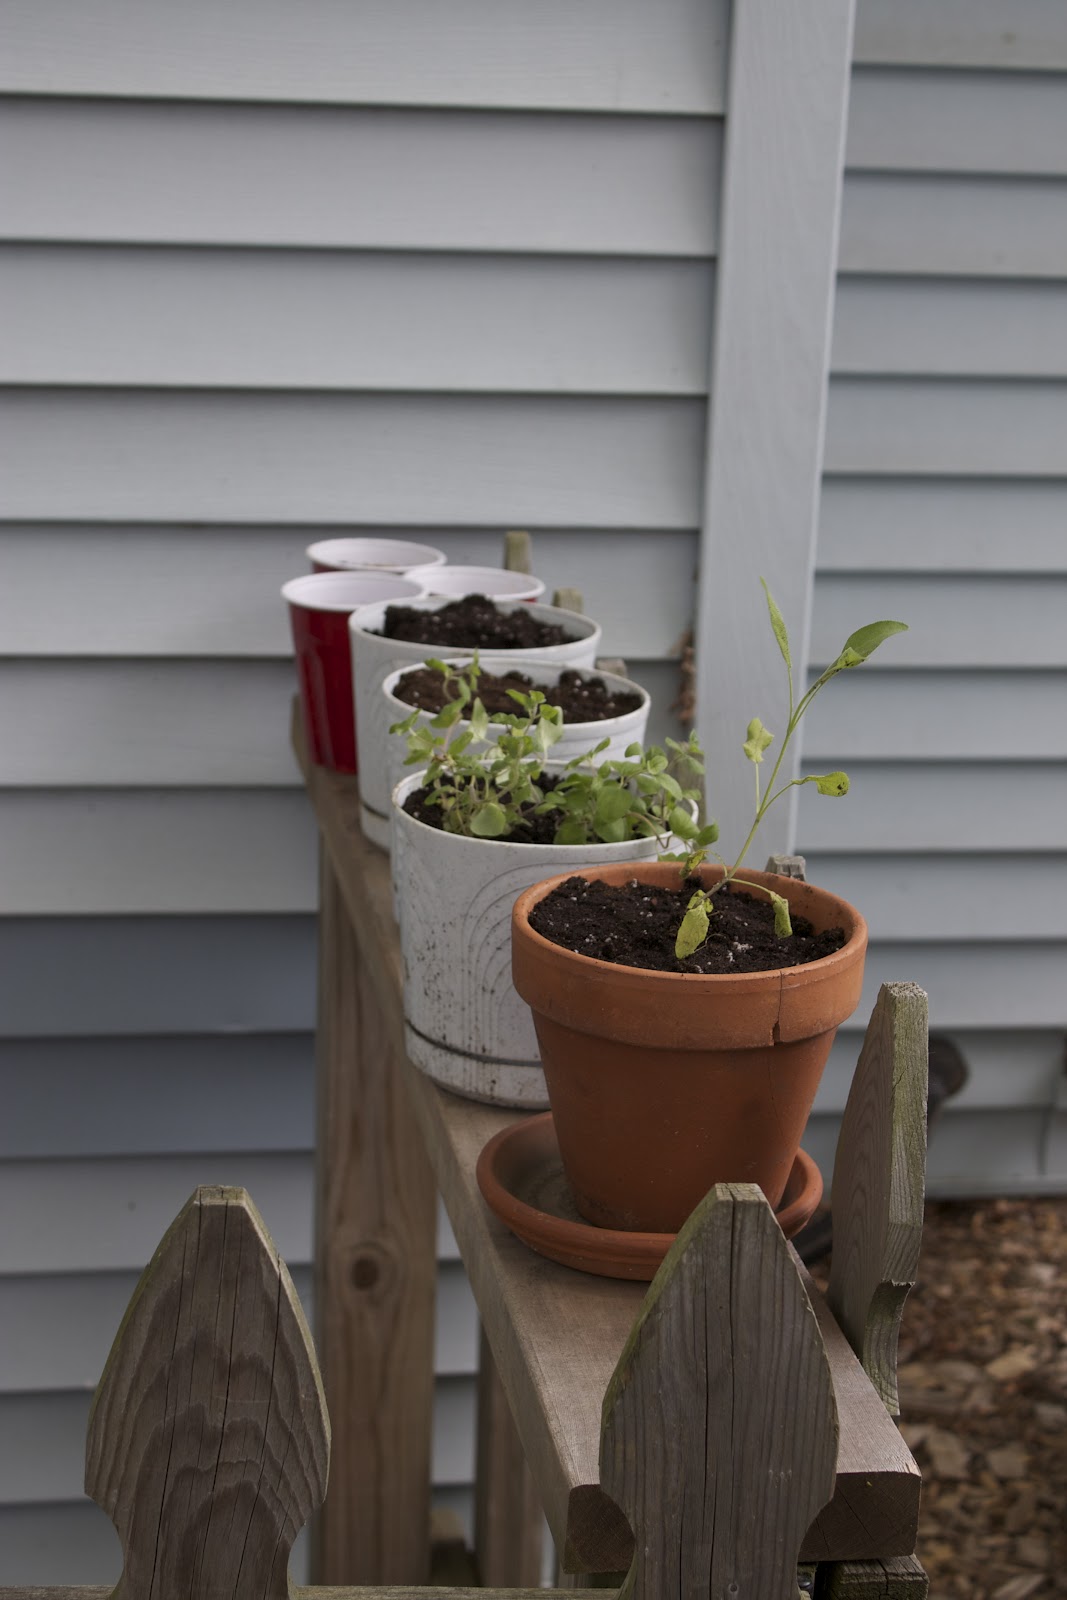
Next on the list was to prepare my mom's herb and flower pots. I started zinnias and a variety of herbs for her this spring. She's on vacation with dad for another week yet (they took a month-long cruise), but I want the pots to be ready for her when she gets back on Mother's Day. They're a little sad looking right now, but they'll definitely fill out. Each pot contains two genovese basil, one special basil (lemon in one pot and Thai in another), sage, parsley, oregano and thyme.

herbs in pots


After potting up the zinnias (no pics - they're pretty boring without flowers), I used the leftover potting soil to put three of my tomatoes in hanging pots. I've never grown tomatoes in hanging pots before, but they're part of a special strategy.

When we expanded the garden last year, we gave my sister-in-law an open invitation to stop by whenever she wanted and take whatever she needed. Normally, she brought her kids (both under the age of 5) with her. Those kids LOVE vegetables, particularly tomatoes. They must think that cherry tomatoes are made just for them (because they're so tiny). I love to see my niece and nephew eating so many vegetables, but we noticed that we got a lot smaller harvest of our favorite cherry tomatoes, Blondkopfchen. I don't have room for extra cherry tomatoes in the garden, but I'm planting them in hanging pots along the driveway so as the kids come up towards the garden, they'll see those tomatoes first. As far as I'm concerned, they can eat every single tomato on these plants. That leaves more for me in the back :)

From front to back there's Matt's Wild Cherry, Blondkopfchen, and Currant. The currant tomatoes are tiny, and I usually don't have the patience to eat them except for snacking, but perhaps small children will. Also, the currant plant grew into an unmanageable bush the last time I grew it, so I can imagine it being kind of pretty as it cascades over the pot. My only concern is that the stems will snap as they lean over the pot, but I'll see how that goes as they develop.


If this experiment fails, that's ok. I have 50 more tomato seedlings, and room for less than half that in my garden.

Since I had the herbs out for my mom's pots, I also planted my herb box. I've been trying to find a place for a perennial herb garden in the back yard, but I don't think it's going to happen this year. The box will have to do.

Front Row (L to R): thyme, oregano, sage
Middle Row (L to R): mammoth basil, Thai basil, lime basil, lemon basil
Back Row (L to R): large rosemary from last year, parsley (2), smal rosemary from last year

That was the end of the fun stuff. Then, I finally had to start weeding out the back fence line. There's a lot of space to plant back there, but it's completely overrun with weeds. Many of them are terrible spreaders that come through the fence from our back and side neighbors. At some point we'll need to address this with some sort of permanent solution, but for now I just try to fight them. See how nice and green it is back there? Too bad it's nothing I want. You can see there's a tiny section on the right that has already been weeded. That was Mom's contribution 3 weeks ago and I haven't done anything since.


There's creeping charlie, but there is also some sort of weed that seems to be very fond of our arbor vitae stumps. It looks like this. Any idea what it is? The root system is crazy, and I swear it creates worms - they're everywhere wherever this weed grows.


After and hour and a half, I'd made some progress. I now have two clear areas in front of the trellises to plant. For sure, pole beans are growing up the trellis (there will be two more trellises to the left with more pole beans planted slightly later). I don't want to waste the space in front of the beans, but I also don't want to plant something I need to trample over to get my bean harvest (I'll harvest most of them as green beans). Any ideas?


Now, it's time for Name That Fungus. I think it's a fungus, anyway. When I got back towards the trellis, I found a couple of these things. They look like a mushroom from afar, but have the texture of candle wax. They only grew near the trellis, which is cedar. Any idea what it is? I was pretty disgusted by it, but I'm intrigued.